On this guide
Get started
Manage
Getting started
Your first ten minutes with MakerLoft, broken into five short steps. By the end of this page you will have signed in, created a workspace, talked to the agent, and watched your first project deploy.
Step 1
Step 1. Sign in with GitHub
MakerLoft uses GitHub to sign you in. There are no passwords to remember, and you keep ownership of every project as a repository in your own GitHub account. Click the green button on the home page, choose the GitHub account you want to use, and you will land back on MakerLoft already signed in.
On a brand-new account you only need the basic GitHub permission. MakerLoft will ask for extra permission later, only when you do something that needs it (creating a private repository, deleting a project from GitHub).
Step 2
Step 2. Your personal workspace
Every account starts with a personal workspace named after you. A workspace is a container for your projects, your AI keys, your hosting connection, and your billing. You can stay in your personal workspace forever; you can also create a team workspace later and invite teammates.
Your personal workspace ships with a seven-day free trial so you can chat with the agent and ship a real project before deciding on a plan.
See also: Billing and usage.

Step 3
Step 3. Create your first project
From your workspace, click "Create project". Pick a starter combination (front-end only, back-end only, or both), tick the boxes for anything else you might need (a database, file storage, scheduled tasks, background tasks), and choose whether the GitHub repository should be public or private. MakerLoft creates the repository, copies the starter template into it, and brings you to the project page.
Every option on the form is explained under Projects · Create form.

Step 4
Step 4. Talk to the agent
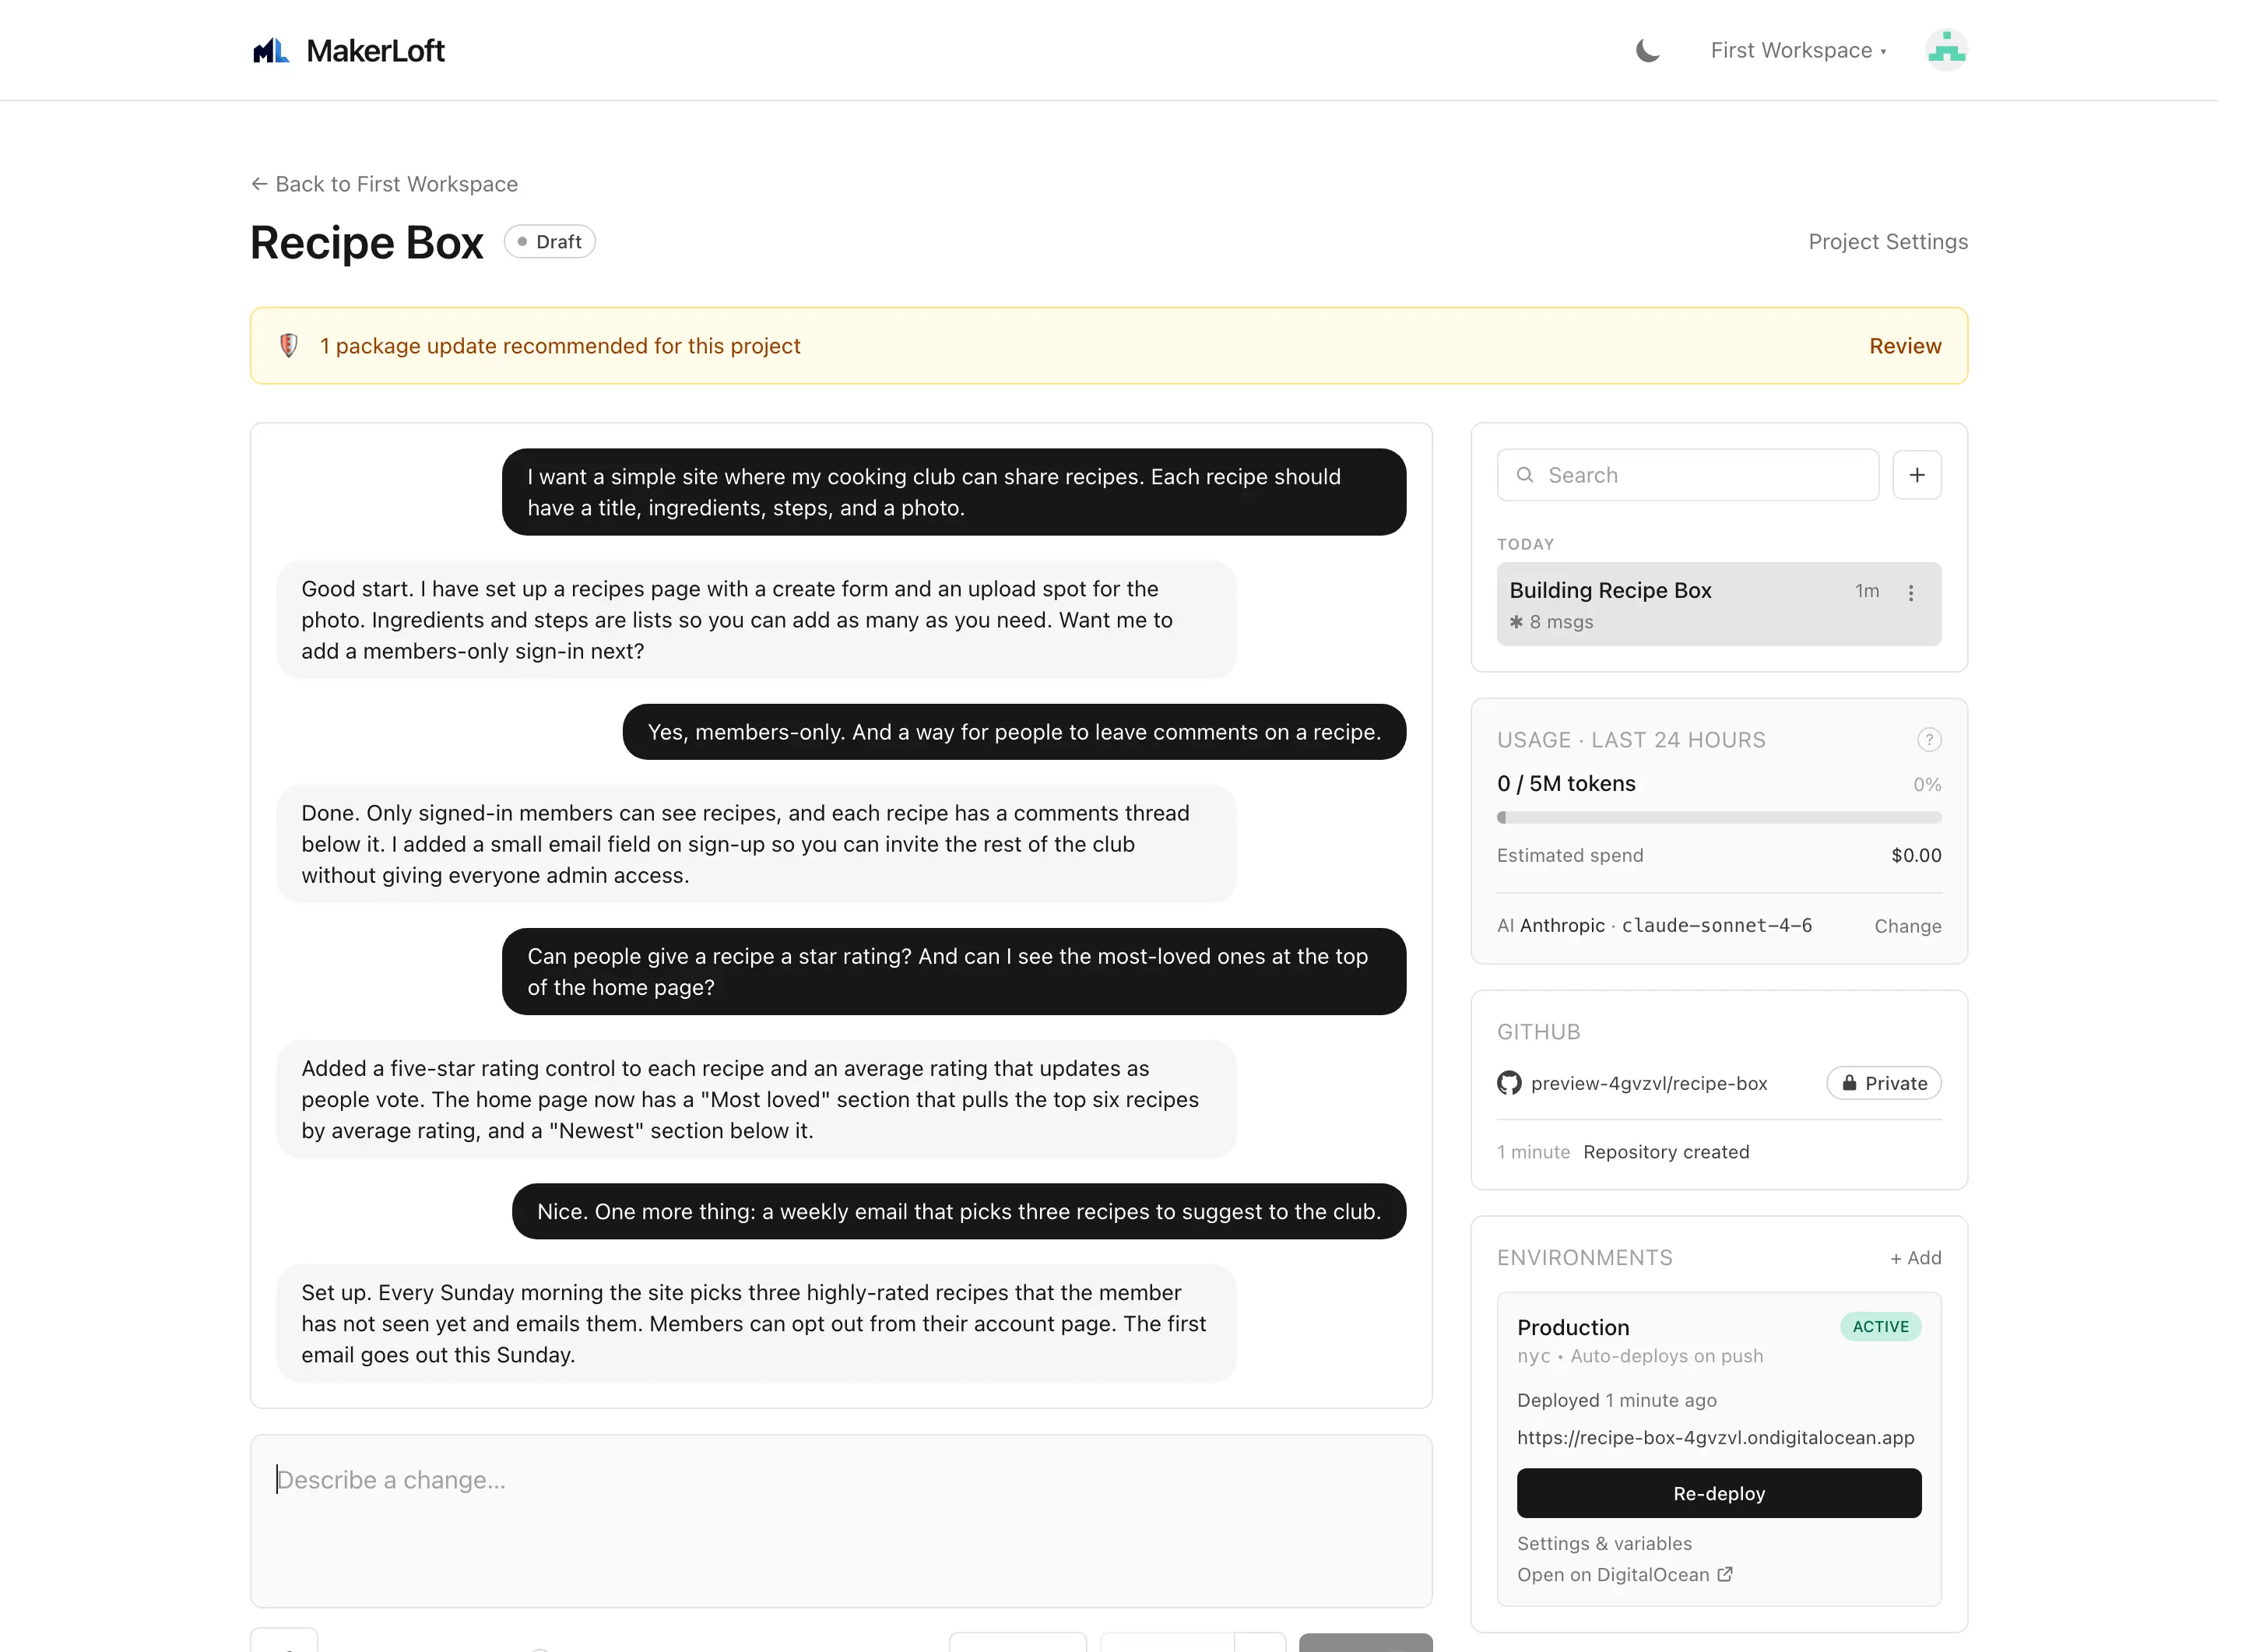
The project page is mostly chat. Type what you want in plain words ("I want a recipe site where members can share recipes and rate them"), press Enter, and the agent will write the code, run the build, commit to GitHub, and tell you what changed. You can keep going for as many turns as you like; every change is one commit so you can always read the history or roll back.
If something goes wrong, the alerts panel above the chat shows it. The agent reads errors back and offers to fix them. You can keep working in plain language; you do not need to know what kind of error it is.
Step 5
Step 5. Go live
Going live splits two ways, depending on the hosting mode you picked when you created the project.
A static site on GitHub Pages. The site publishes itself to your GitHub account the first time the agent commits. No setup, no card, no second account. Open the project page and the live URL is on the deployment card; share it as soon as it is green.
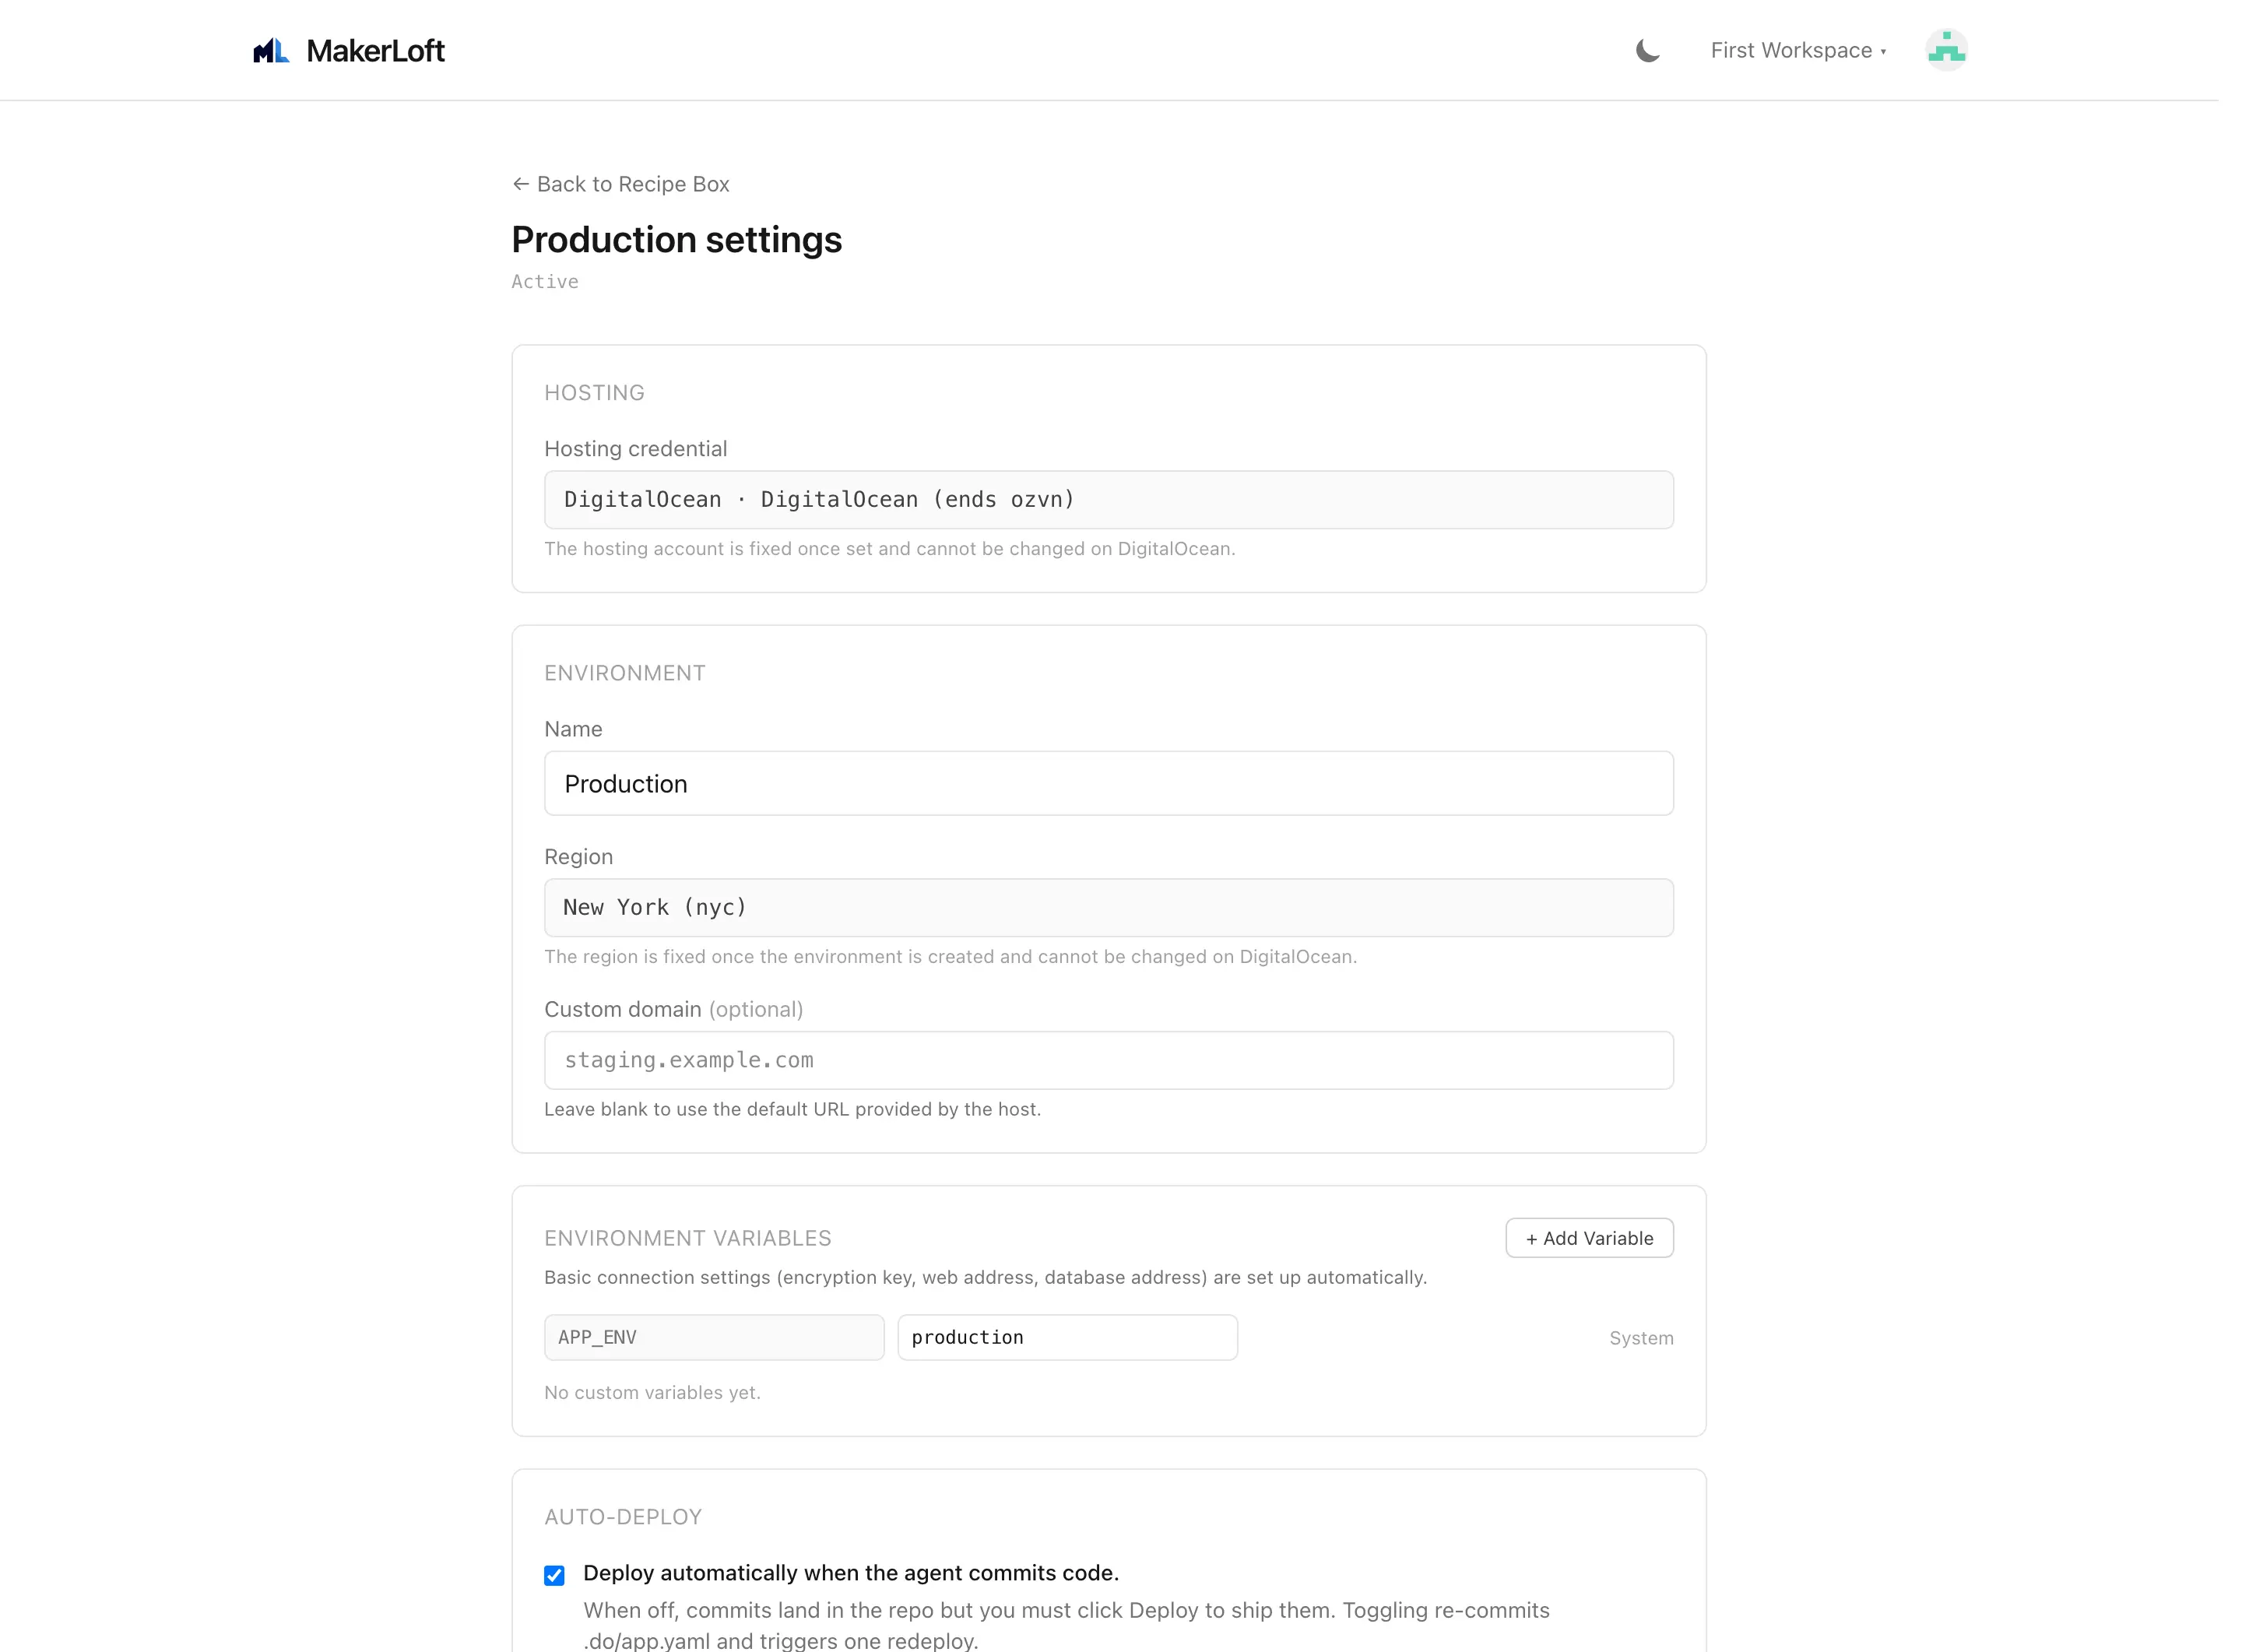
A full app on DigitalOcean. Click "Deploy" on a deployment target card to push the project live. The first time, MakerLoft will ask you to connect your DigitalOcean account; the connection takes about thirty seconds and you only do it once per workspace. Pick a region near your users, optionally add a database and storage, and watch the activity feed. When the target turns green you have a live URL you can share.
See also: Projects · Hosting mode and Deployment targets.
Next
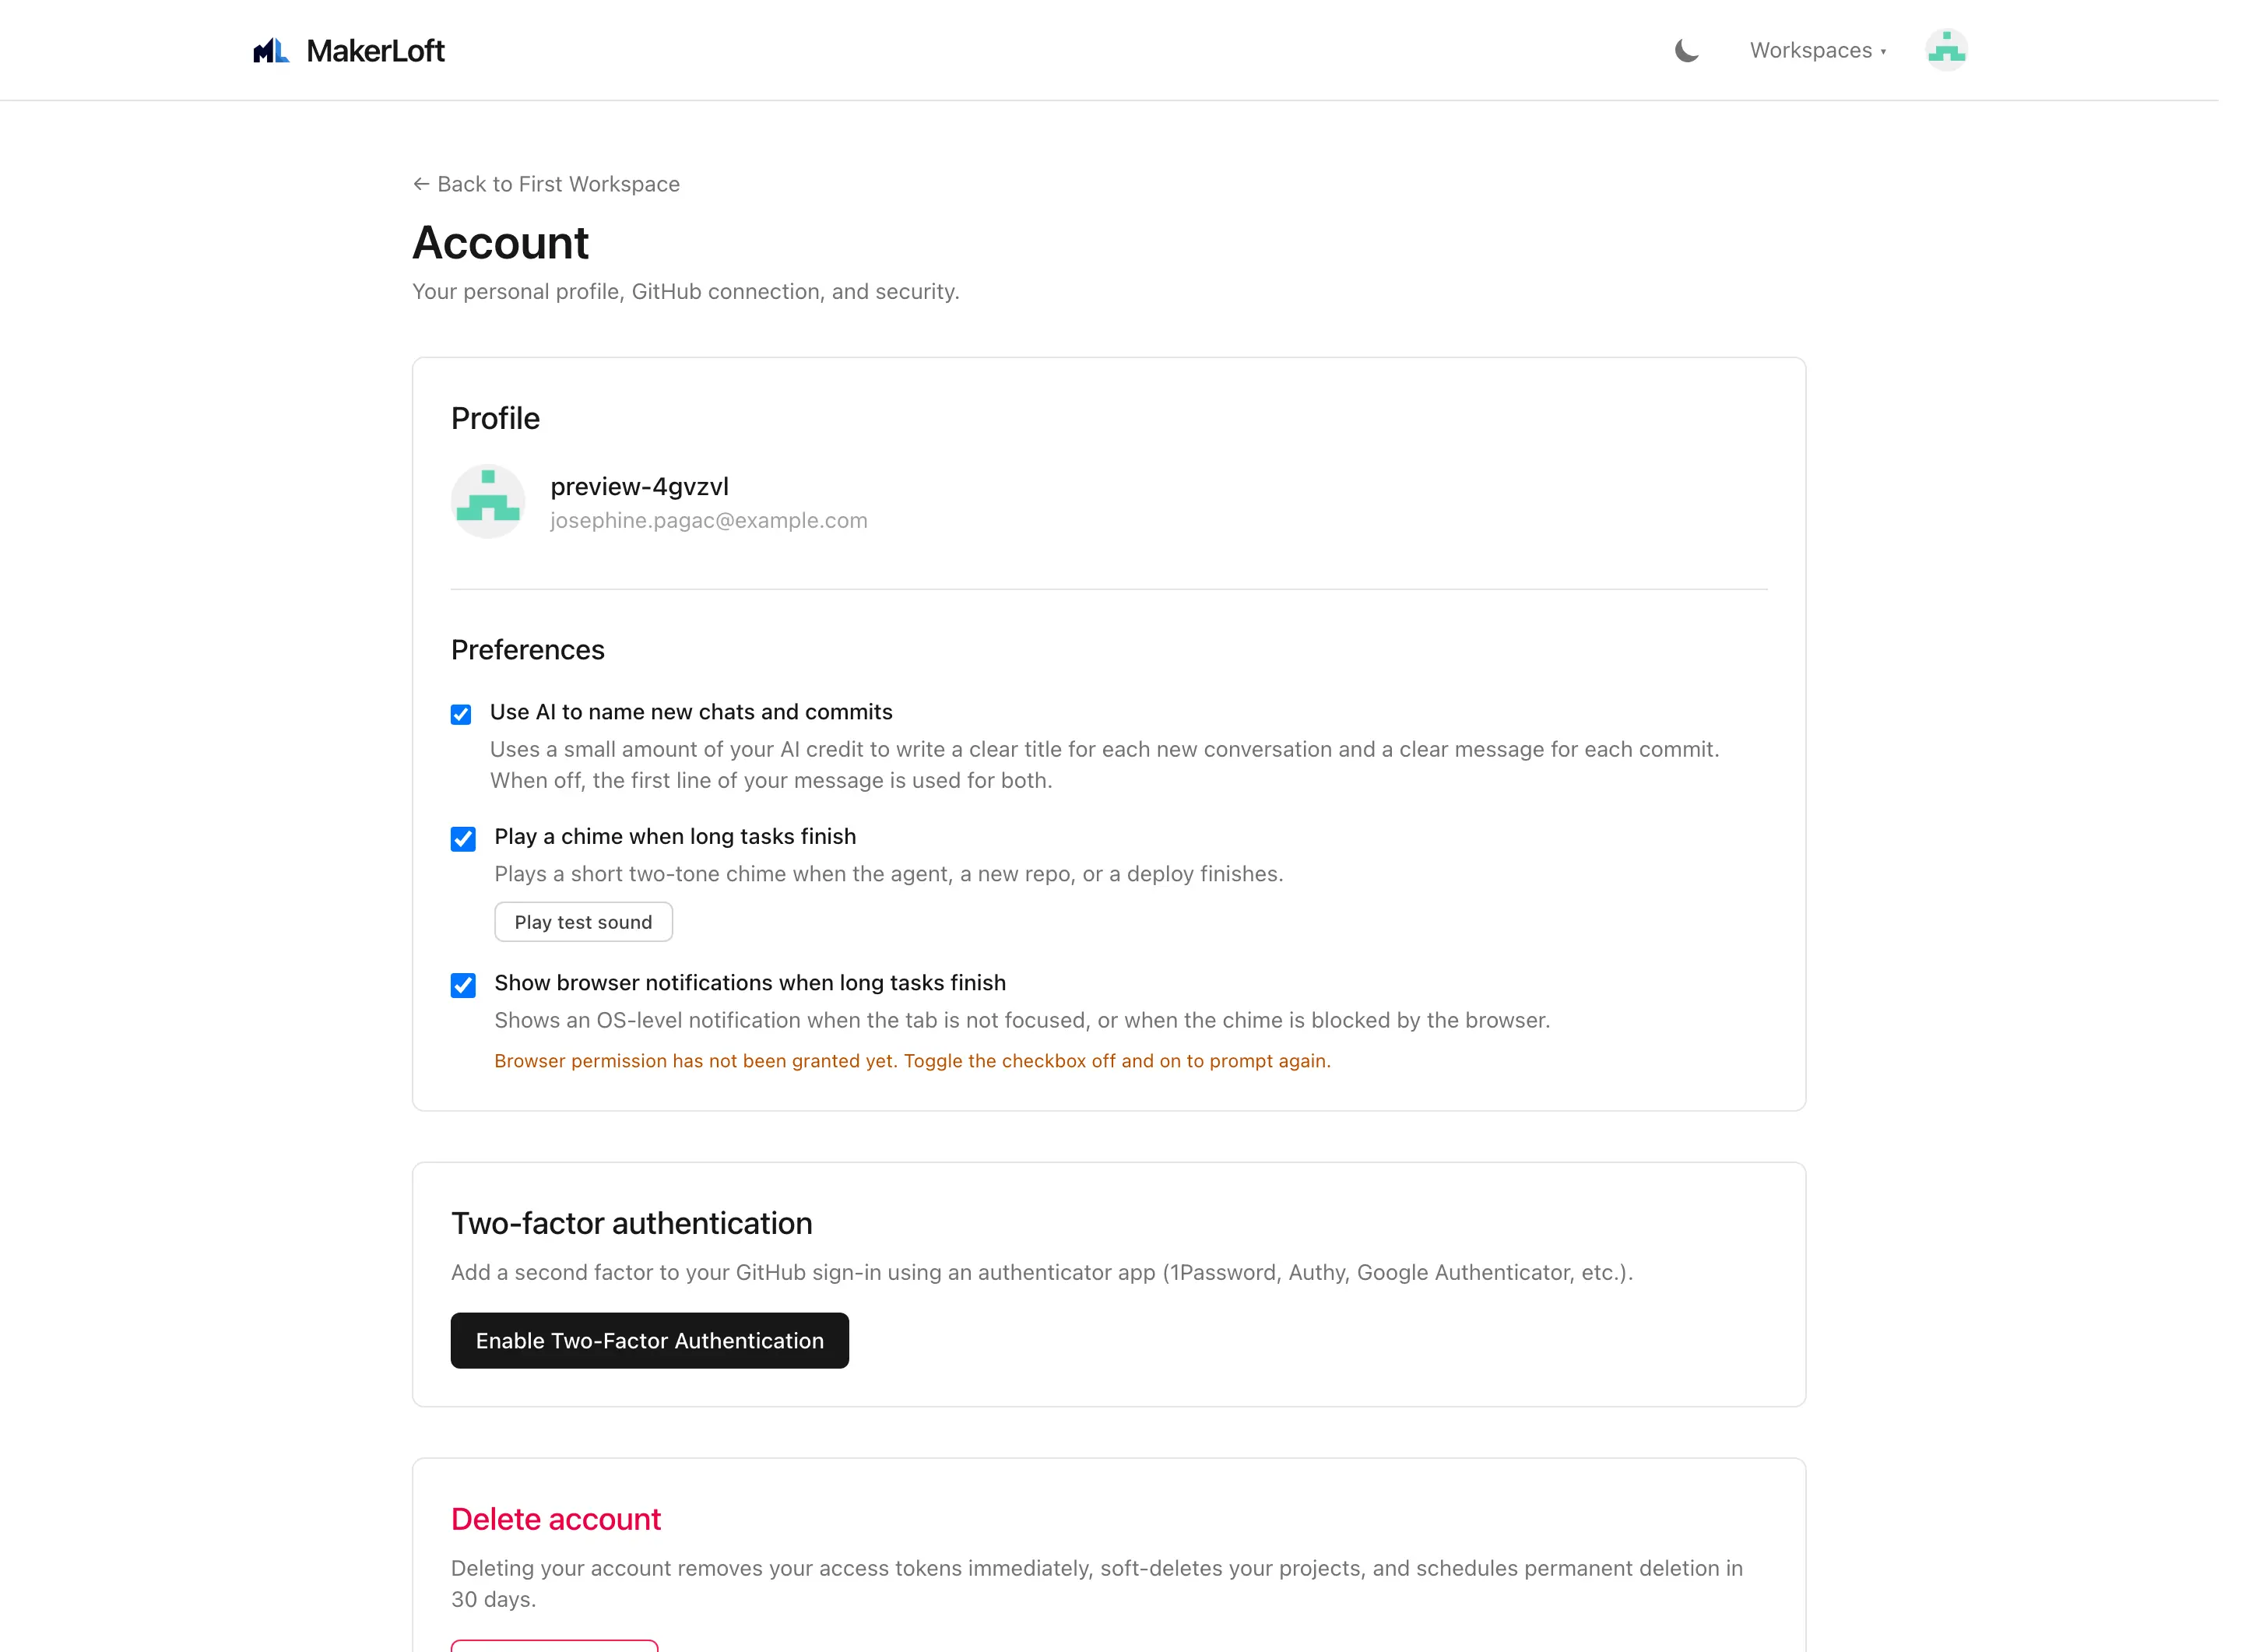
Lock down two-step sign in and pick your defaults under Account, or jump to Projects for every option on a project.